Building Teams Apps
The Intro
I worked a lot with the Power Platform lately, especially PowerApps and I integrated a few apps into Teams.
With Dataverse and Dataverse for Microsoft Teams the combination of Teams and the Power Platform gets even closer and I’m excited to explore the new possibilities.
But actually, there is more than integrated PowerApps into Teams.
Microsoft published a little guide, how to build apps for Microsoft Teams. No PowerApps and no Flow in sight.
I’m not a developer, yet I build up a little technical knowledge in the past years, so I want to see how far I can get. I want to learn more about Microsoft Teams and how it works and what possibilities there are.
When I learn more about the possibilities, I get a better understanding of how Teams can help user even better to achieve more.
By learning these things, you can use your own knowledge and business experience in use cases to better adapt technical development work to real life. The developers do a fantastic job, but I often feel that communication between business AND IT could be better. And if each side gets a better understanding of how the other thinks, what possibilities there are, a common understanding benefits. Together we achieve more.
I followed the instruction on Microsoft docs and build a Teams app. On the way I’ve learned a few things and I want you to participate in that. Maybe it protects you from little traps, maybe it saves you from frustration, maybe it’s just a learning diary for me. We will see.
Let’s explore this one together.
The Overview
So what exactly are apps for Teams anyway? Well the documentation shows for examples
- Tabs
- Messaging extensions
- Bots
- Webhooks
At this point I have not really a clue where the benefit is, to realize those things within Teams and not with different tools. You can add tabs just like that, messaging extensions sound a lot like anything you can achieve with adaptive cards, there is the Power Virtual Agent for bots and webhooks sound like something I would naturally do with PowerAutomate.
You see, I don’t have any usecase for all these things right now, but I’m curious. And I’ve learned one thing: The more you understand, the more you see. So, I guess I’ll figure out some usecases on the fly, right?
Microsoft suggests to start with a “Hello World” app in a personal tab. But before we dive into it, there are some prerequisites you should take care of. For me that was one of the scarier parts, but it’s actually fairly easy, you will see 😊
Prerequisites
Okay, here is a list of things you will need:
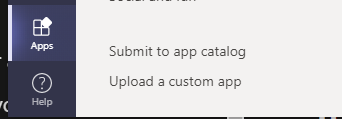
- Microsoft Teams
(d’oh really? 😂)- but the point is, you need to be able to upload custom apps. Simply check if you can do this (upload custom app)
(If no, I highly recommend to check out the Microsoft 365 Developer Program. Far too many people don’t know about this, but it’s awesome)
- Visual Studio Code ( a source code editor. It’s free and it’s great. And for this task we will need the integrated Teams Toolkit)
- Node.js (It’s a JavaScript runtime. I’ve no idea what this means, but I didn’t need to up til now 😅)
- Ngrok (ngrok allows you to expose a web server running on your local machine to the internet. If you build an app for Teams it’s not hosted within Teams but need to be hosted on a webserver. If you don’t have a webserver you want to make the stuff on your computer externally accessible. Ngrok is a tunnel that creates an externally addressable URL that you will need for your Teams app to work)
- PowerShell for Windows (PowerShell is a “task automation and configuration management framework from Microsoft” and is usually already on your computer – It’s that thing Admins use all the time. For the moment being it’s enough to know that it works as our terminal to run scripts)
Those three are developer tools and apart from VSCode I had no clue what those things do or why. But you will need them in order to get your app going. Just follow the instructions, we’ll figure the rest out later 🙂
Before we get busy – a few hints
Before we start, I have a few helpful tips for you. To keep your work organized and clear, create a Teams apps folder. Then you can choose this as your working space for everything you will do around Teams apps.
Choose a workspace folder
When you create a new Teams app within VSCode you have to choose a workspace folder. VSCode will automatically create a subfolder with the name of your app within that folder. Just keep this in mind when working with Teams apps
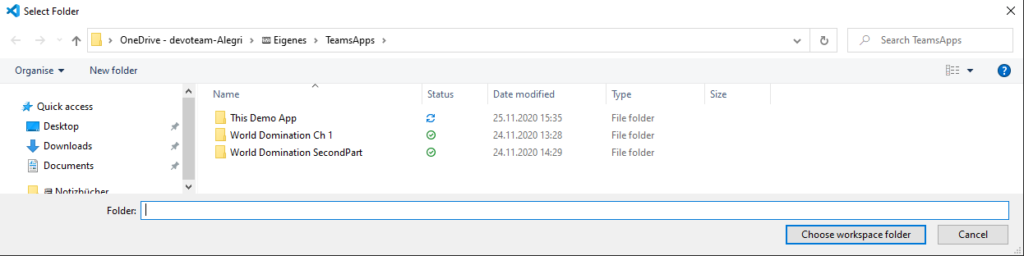
TeamsApps is the name of my workspace folder. VSCode will automatically create a folder with the name of my app in here.
Store ngrok
If you unzip ngrok you will just get an application called ngrok. That’s it. To make it work properly you want to place it in your workspace folder in which every Teams app is stored. In my case that’s the TeamsApps folder mentioned above.
How to use ngrok
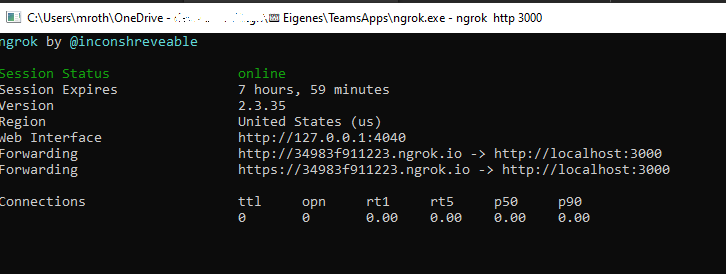
If you start ngrok a terminal will open. Don’t be scared, everything you need to know is in there. As mentioned above TeamsApps are hosted on a webserver and now we want to create that tunnel to the right one.
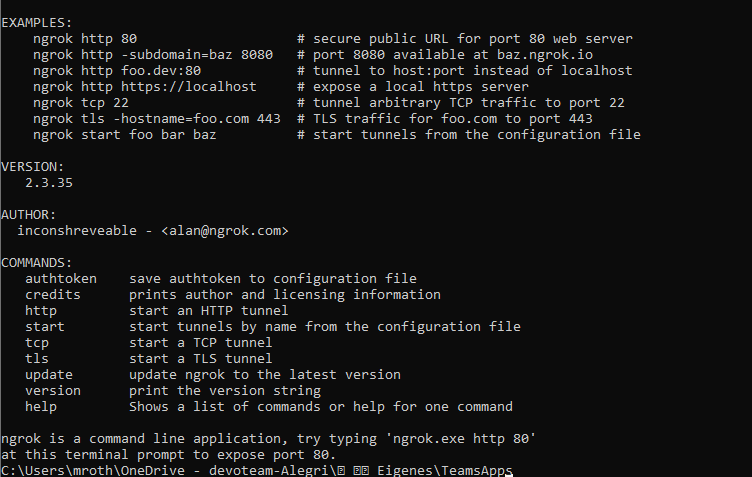
Ngrok gives you a list of commands that you can use. You want to start an HTTP tunnel. As the documentation states your app is going to be hosted on localhost:3000.
Type: ngrok http 3000
That’s it. Afterwards ngrok will tell you that your session has started. This looks like this:
Build and run your first Microsoft Teams app
Okay, the documentation on Microsoft docs is really, really good and I would recommend following the instructions step by step.
Yet I made a few mistakes and I want to you show you the steps that were unclear to me. Maybe that is helpful for you as well.
Steps 1 and 2 are very easy to follow, just read and act accordingly.
Step 3 – Build and run your app
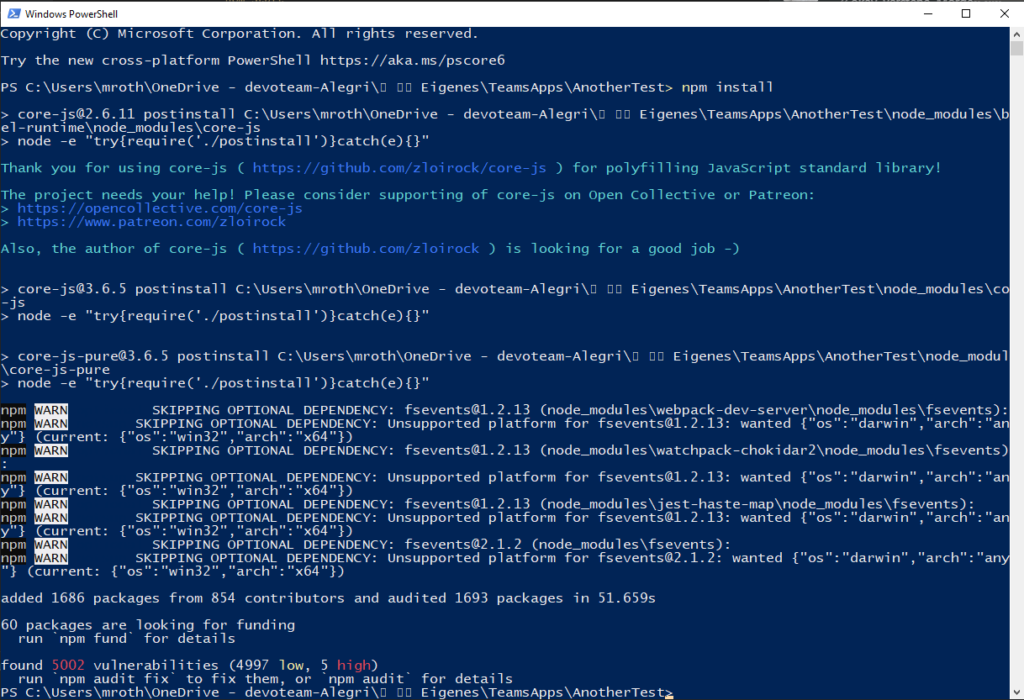
Now I guess for most people this is a no brainer and too easy, yet I learned something new here. You will need to run the cmdlets npm install and npm start.
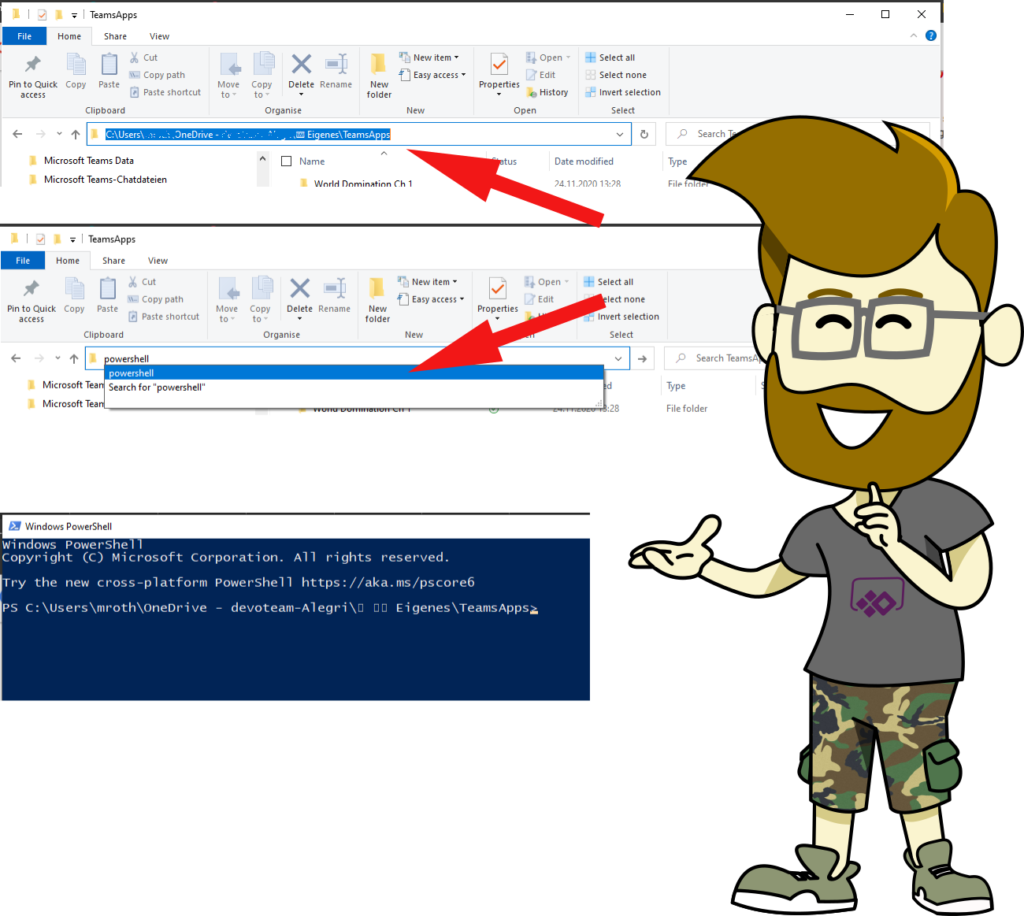
Therefore, you need to open your terminal (aka PowerShell) and navigate to the root folder of your app project. Do you know how to navigate in PowerShell? Because I didn’t but I learned this neat little trick. If you need to open PowerShell in a special folder, you can just use those three steps:
- navigate to your folder in the file explorer
- Type PowerShell in the address bar and hit Enter
- PowerShell opens in the folder you’ve just been in
Then you just type the following
npm install
and after it’s finished you type
npm start
You will get success messages once PowerShell is done. For me this doesn’t exactly look like a success message, but whatever. If it looks like this, your good to go 😛
Step 4 – Sideload your app in Teams
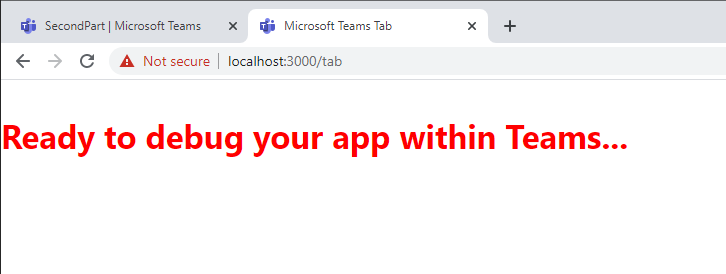
Just after you typed in https://localhost:3000/tab you will get a warning, that this site is not secure. Just click on advanced and then you can confirm to go on the site.
After a few moments it should look like this:
Now you can go back to your first tab in Chrome to get back to Teams.
I’ve done this a few times now and every time I went back to Teams I didn’t need to refresh the site. I waited for a few moments and with clicking anywhere into that window I got this little message 🙂
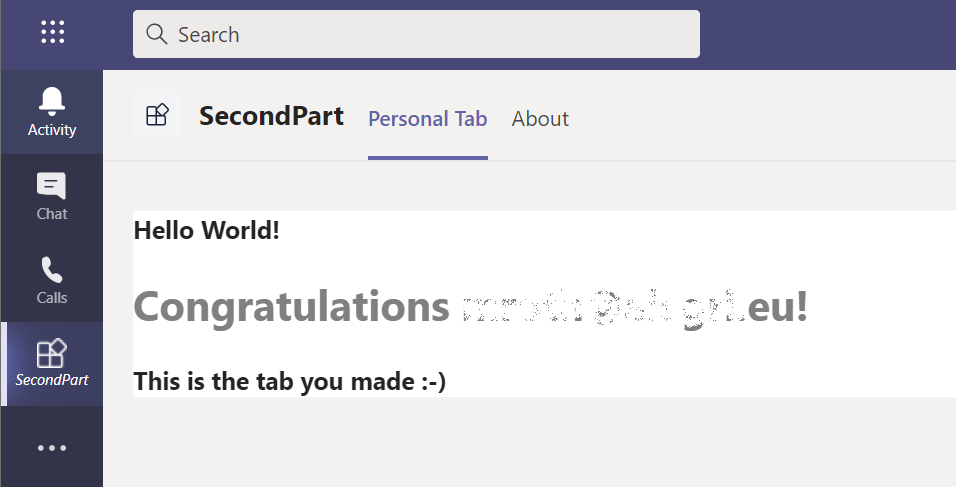
And there you have it. You just created your first Teams App. From there you can choose a couple of different next steps.
I will go on with creating a message extension, because I’m really curious what that is and what I can use it for.